Ready to cut your electricity bills and gain energy independence? Choosing to begin a solar panel installation project is a big step for any homeowner. Since 2008, hundreds of thousands of units have gone up across the United States as more families choose clean energy for their homes.
Many people, like Lakisha Harris in Accokeek, Maryland, found moving into a home with rooftop systems changed their daily life during the 2021 Summer of Solar. The U.S. Department of Energy has backed efforts to make this option more affordable and reliable for every American home.
In this guide, we walk you through each part of the process—from planning array size and roof assessment to final activation. If you want a practical how-to rundown, see this how-to guide, or explore local service options to compare companies and costs.
Understanding the Benefits of Solar Energy
Generating your own clean electricity at home brings clear financial and environmental wins.
The U.S. Department of Energy’s Solar Energy Technologies Office (SETO) has helped make renewable options more affordable since 2008. That investment means more households can access reliable systems without breaking the bank.
Homeowners who choose this route often see lower monthly bills and less dependence on fossil fuels. Modern systems are built to last and to keep producing power in varied weather.
“Switching to clean power changed how I plan my family budget and trust my home energy,” says Lakisha Harris of Accokeek, Maryland.
- Save money: Generate electricity and trim utility costs.
- Increase resilience: Reduce reliance on the grid and unstable prices.
- Support sustainability: Cut emissions and back a cleaner economy.
| Advantage | What it means | Typical result |
|---|---|---|
| Affordability | Federal investments and declining costs | Lower upfront and lifetime costs |
| Durability | Modern materials and warranties | Long-term, reliable energy output |
| Impact | Lower fossil fuel use | Reduced carbon footprint for families |
Assessing Your Home for Solar Potential
Start with a clear look at your roof and sunlight before you commit. A short site review helps you know whether a clean energy system will deliver the expected savings and uptime.
Roof Condition
Have a pro inspect roof age, structure, and coverings. They check load capacity and the size of supports needed for panels.
Make sure the roof can hold equipment for 25 years and that repairs or reinforcement are planned first.
Sun Exposure
Measure sunlight across seasons. Orientation, pitch, and nearby obstructions determine how much energy your system will produce.
- Check for shade from trees or chimneys that block midday sun.
- Evaluate roof orientation to maximize capture of solar energy.
- Confirm placement that avoids shade and yields the best return on investment.
| Check | What to look for | Expected result |
|---|---|---|
| Roof condition | Age, structure, load capacity | Safe, long-lasting support for panels |
| Sun exposure | Orientation, pitch, shading | Higher energy output from system |
| Obstructions | Trees, vents, nearby buildings | Identify clear mounting zones |
| Planning | Size, placement, and permits | Better performance and faster install |
Choosing a Reputable Solar Installer
Choosing the right company to handle your home energy upgrade can make or break the project. For a smooth solar panel installation, start by checking how long a firm has operated and who actually does the work.
Make sure the lead installer has a valid NABCEP certification and that the company has at least five years of local experience. Ask for references and recent project photos. A good installer will answer tough questions clearly and share full cost details.
- Compare at least three quotes from different companies to protect your money and choose quality.
- Verify warranties, permits, and who will handle inspections and follow-up service.
- Use online tools and local directories to find solar companies and top-rated installers near you.
| What to check | Why it matters | Result |
|---|---|---|
| Years in business | Stability and track record | Better overall experience |
| NABCEP certification | Certified skills | Fewer technical issues |
| Multiple quotes | Market pricing | Lower long-term costs |
Navigating the Solar Panel Installation Process
Most homeowners find the toughest part of the project is waiting for paperwork and grid permission—not the day the crew climbs onto the roof.
Timeline Expectations
Expect a multi-step timeline. From design and permits to the final inspection, the full process usually takes between two and six months.
The actual physical work of mounting solar panels often takes only a few hours to a few days. That short step follows weeks of planning.
- Design: Engineers size the system based on home electricity use and roof factors.
- Permits & utility: Your company coordinates paperwork and interconnection with the local utility.
- Install & inspection: Crews install the array and an inspector signs off before activation.
“Patience during paperwork pays off — the long-term energy savings are worth the wait.”
Make sure your installer has experience handling permits and inspections. A skilled installer keeps delays to a minimum and moves your project to activation faster.
Securing Necessary Permits and Approvals
Permits and approvals turn a planned system into a legal project ready for equipment orders and scheduling.
Expect a permit timeline of about two to seven weeks, though local rules will drive exact time. Your installer usually handles the paperwork and talks with the Authority Having Jurisdiction (AHJ) or your HOA.
Securing permits ensures your system meets local building and electrical code. Proper documentation helps avoid delays. That includes design schematics and wiring diagrams and any forms your municipality requires.
Your solar company will also coordinate with the utility company for interconnection and final inspection. Their experience with local rules speeds the process and prevents re-submissions.
- Make sure all documents are complete before submission.
- Keep clear communication with your installer throughout the permit process.
- After approvals, equipment can be ordered and the on-site work scheduled.
“Fast, accurate paperwork keeps the project moving and reduces hold-ups at every step.”
Preparing Your Property for Equipment Delivery
Clear property prep speeds delivery day and keeps crews productive.
Start by clearing a safe staging area near your driveway or garage. Leave space for pallets, the inverter, and any battery storage. A tidy area reduces handling time and lowers the chance of damage.
Battery Storage Considerations
High demand for battery systems can mean longer delivery times than a typical solar panel order. If you plan to add batteries, order them early and confirm timelines with your installer.
A pro will pick the best location for batteries to meet code and keep them cool and accessible. Coordinate with the utility company if the batteries will affect interconnection or metering.
Electrical Panel Upgrades
Have an electrician inspect your electrical panel before crews arrive. Many homes need an upgrade so the new system can feed the home safely.
Make sure wiring routes are clear and that the installer can access the meter and shutoffs. Proper site prep helps the companies work fast and pass final inspection.
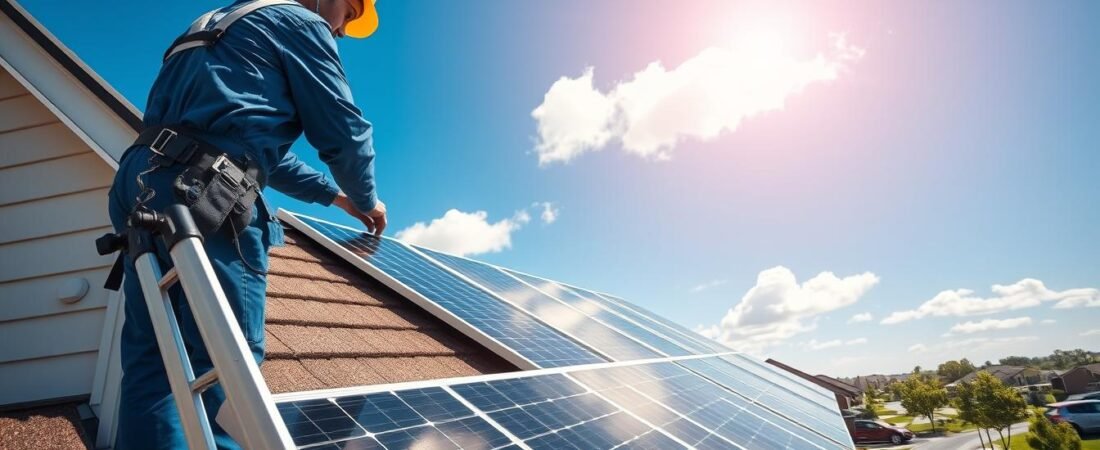
The Physical Installation of Your Solar System
The day installers arrive, the project shifts from paperwork to visible progress on your roof. Most physical work takes between six hours and three days, depending on the project size and complexity.
First, the crew secures the racking to roof rafters or a ground foundation. That frame holds the panels firmly and sets the array spacing.
Next, the team mounts the panels and follows the design plan. Installers carefully wire the modules to the inverter and tie the array into your main electrical panel.
If you ordered a battery, it is installed during this phase. The battery sits near the inverter or in a code-approved location to provide backup power when needed.
Professional solar companies follow strict safety protocols. They use fall protection, proper flashing, and quality fasteners to protect your roof and roofers.
- Racking secured to structure
- Panels mounted and aligned
- Wiring to inverter and meter
- Battery placed if included
Watching the array come together is the most exciting part. You can see the system take shape and know the project is nearly ready for inspection and activation.
Completing Inspections and Grid Interconnection
The closing steps tie paperwork, safety checks, and the grid connection into one final milestone. After crews finish, a local inspector must verify the work meets building and electrical code.
Schedule the final inspection as soon as your installer marks the job complete. The inspector checks wiring, mounts, and safety features to confirm the system is safe for use.
Permission to Operate
The utility will run an interconnection review next. A representative may visit to verify the array is tied in correctly and to install a meter that records your production.
- Book the final inspection to meet local code requirements.
- The utility performs a final review and may change the meter.
- Receiving Permission to Operate (PTO) is the last step before you generate solar energy at home.
Coordination between your company and the utility is vital. Good communication speeds approvals and turns a finished job into working home power.
Long Term Maintenance for Your Solar Array
Small, regular checks prevent most performance drops and costly repairs later. Solar panels have no moving parts and need little care, but a twice-yearly cleaning keeps output near peak.
Keep monitoring your system daily with a homeowner app or web portal. Modern tools show real-time energy and flag drops so you can act fast.
Inspect the roof and mounting hardware yearly. Tighten fasteners and look for loose seals, flashing issues, or debris after storms.
- Wipe or rinse panels gently twice a year to remove dust and pollen.
- Check battery charge and health if your array includes storage.
- Use monitoring alerts to spot underperforming strings early.
“Routine care extends production and protects your long-term savings.”
Keep maintenance simple and schedule pro inspections every few years. With basic upkeep your panels and system can deliver reliable clean energy for 25 years or more.
Conclusion
Finally, these practical tips put you in control of the project and the long-term savings it can bring.
You now have clear information to compare offers, estimate costs, and find solar professionals who fit your needs. Use questions and checklists when you interview companies to protect your money and time.
The process takes patience, but the payoff is a reliable source of solar energy for your home and greater energy independence. We hope this guide improved your confidence and helps you find solar resources to start your journey.