This quick guide shows what a typical eufy solar panel installation means for most U.S. homeowners. It covers mounting where the unit gets steady sun, connecting it to your camera, and checking charge status inside the eufy Security app.
This short how-to previews a longer, step-by-step guide for common surfaces like siding, brick, stucco, fascia, and roof edges. You’ll learn to confirm compatibility, pick the best spot, mount and seal the connection, then verify charging and tweak placement over time.
Why placement matters: a solar panel only helps if it gets direct sunlight. Real conditions — cloudy days, dirt buildup, and seasonal sun shifts — affect charging. Be ready to clean and angle the unit for best results.
Product help often lives on the brand website and may mention cookies or options to accept essential cookies. For hands-on work, plan safety first: you’ll use ladders and drill into exterior material, so pick the right fasteners and take basic precautions. For more background, visit our about page.
Before You Start: Compatible Cameras, Charging, and What You’ll Need
A quick model check saves time—identify your device and confirm compatibility before any mounting work. This prevents wasted drilling and makes sure the right connector fits your camera.
Confirm your camera model and range
Open the eufy Security app or read the label on your camera to find its exact model. Match that model to the supported list so you know which cable and bracket to use.
Pre-charge for Solar Wall Light Cam S120
Fully charge the S120 first with a USB‑C to USB‑C cable and an external power adapter (not included). The LED stays solid blue while charging and turns off when full. Note: the included adapter is for connecting to an external solar panel, not for initial charging.
Gather parts and plan cable runs
Before you climb a ladder, verify you have the mounting bracket, correct anchors for your surface, and enough cable or extension so the panel can sit in sun while the camera keeps the best view.
| Item | Why it matters | Tip | Range/Note |
|---|---|---|---|
| Mounting bracket | Secures the panel to siding, brick, or fascia | Pick anchors for your material | Use recommended bracket for device |
| Cable & extension | Connects camera to the panel | Route along the hub to avoid tangles | Keep panel within ≈13 ft / 4 m |
| Power & charging | Pre-charge S120 to full before mounting | Watch for solid-blue LED | Included adapter is not for initial charge |
Common questions you may have include: Do I need anchors? What if the camera is shaded? How to keep the cable tidy? For a full walkthrough on the S120, see our step-by-step guide for S120.
Choosing the Best Location for Reliable Solar Power
Choose a location that balances a clear view for the camera with plenty of direct sunlight for charging. Prioritize areas that receive long, unshaded exposure, especially around midday when output is highest.
What direct sunlight looks like in real life
Direct sunlight means the panel sits in open light, not just bright daylight. It must stay free of shadows for the longest stretch possible to produce steady power.
Quick obstruction audit
- Check rooflines, eaves, gutters, and nearby trees for blocking shade.
- Think seasonally: leaves, snow, and debris can cut output over time.
- Pick a wall if you want easier cleaning; choose a roof if you need maximum exposure.
Angle and direction for the U.S.
Because the U.S. is in the Northern Hemisphere, aim the panel generally south and start near a 30° tilt (20°–30° is fine). Adjust after a few weeks by watching charge levels in the app.
Practical test: observe your chosen spot for a full day before final tightening. This saves time and keeps your camera’s view and charging both working well.
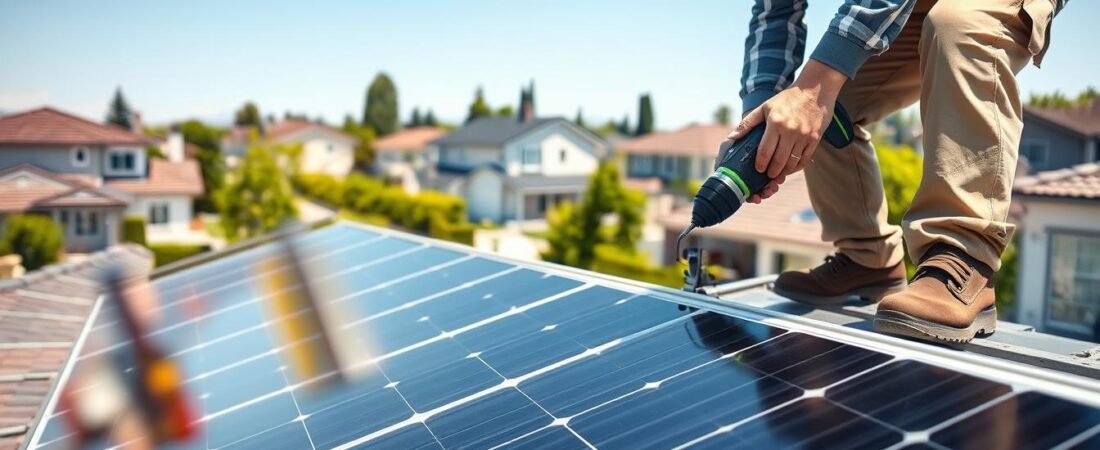
eufy solar panel installation: Mounting, Connecting, and Verifying Charging
Start by positioning the charging unit where it will see the most sun. Loosely set the panel on a roof or exterior wall in direct sunlight. Confirm the cable reaches the camera before you mark holes.
Mounting and drilling
For SoloCam-style mounts use the provided positioning card. Drill with a 15/64 in (5.95 mm) bit, insert anchors, and secure the bracket. Double-check alignment before tightening.
Connecting eufyCam models
For eufyCam 1/2/2 Pro: slide the waterproof gasket onto the USB connector, plug it into the camera port, cover with the waterproof bracket, then screw the thread bolt into the mounting screw slot.
For eufyCam 2C/2C Pro and eufyCam E: slide the gasket on and plug into the USB port, ensuring a snug fit before routing the cable.
SoloCam and blocked camera setups
If the camera site is shaded, mount the solar panel separately in sun and use the supplied USB‑C extension. Keep the panel within about 13 ft (4 m) of the camera for reliable power.
Cable routing, view, and verification
Route the extension along the panel hub to prevent tangles and avoid sharp bends. Adjust the mounting bracket to lock in the desired field of view and secure detection zones.
Open the eufy Security app and check the solar charging dashboard to confirm the panel is supplying power. Re-check after a sunny day to validate charging.
Performance tips
Maintain output: wipe dirt and debris regularly, expect lower charging during storms and short winter days, and revisit panel angle (about 20°–30°) as the seasons change.
Conclusion
Finish strong: a few quick checks ensure your setup stays effective season after season. Confirm camera compatibility, pre‑charge when needed, mount the panel where it gets steady sun, and verify charging in the app.
Most issues come from placement, angle, or cable routing. These problems are usually fixable without a full redo—try a sunnier wall, tweak tilt, or tidy the cable and monitor results for a few days.
Keep a simple routine: wipe off debris after storms, review charge status periodically, and check views around family areas (including a baby’s room) to avoid loose slack or tampering. For further questions or model‑specific information, contact customer service or visit official support pages — you may see cookie prompts like accept cookies or accept essential cookies while browsing.