This buyer’s guide helps district leaders and facilities teams make confident decisions about campus PV systems without needing to become engineers.
Who should read this: superintendents, CFOs, sustainability staff, facilities directors, and board members who manage energy and budgets.
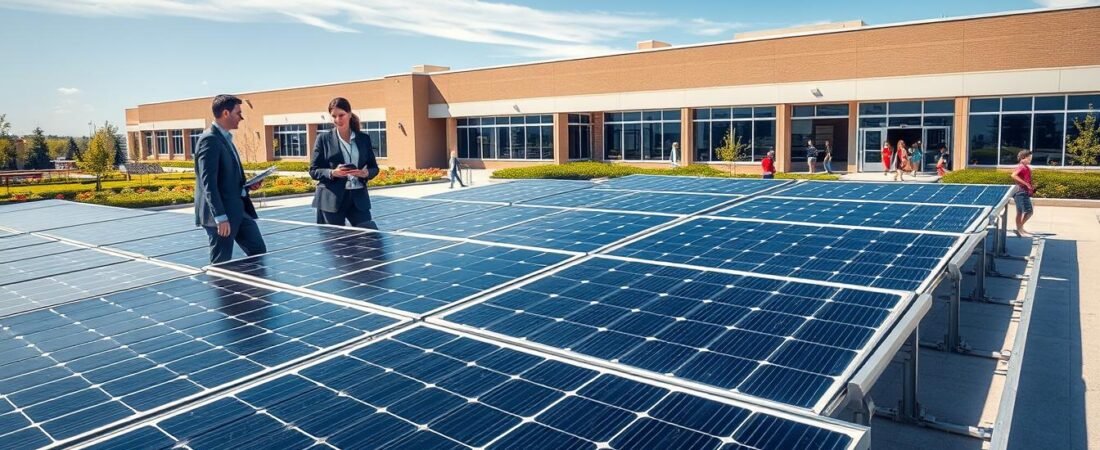
We define the typical project types — rooftop arrays, ground mounts, and canopy systems — and outline how a concept moves to an energized system.
We’ll answer the big questions: is your campus a good fit, what drives costs, what financing paths exist for public and private districts, and how long a project usually takes.
Why many campuses are ready now: flat roofs, wide unshaded areas, and large roof runs often lower cost per watt and raise return on investment. Nearly 9,000 U.S. schools used PV systems by 2023, so this is mainstream, not experimental.
To learn technical site-prep tips and conduit guidance, see the solar-ready guidelines, which help districts plan mechanical and electrical space for future arrays.
Why Schools Across the U.S. Are Going Solar Now
Energy uncertainty is a real budget risk. Many districts now see local generation as a way to steady electricity spending and protect classrooms from rising costs.
Budget stability and predictable bills: Volatile utility rates make long-term planning hard. Converting part of a campus load to on-site generation turns some of that uncertainty into predictable monthly costs. That freed-up money can go back to staff, programs, and maintenance instead of bigger utility bills.
Environmental and reputational benefits
Using renewable energy reduces reliance on fossil fuels and lowers emissions with no behavior change required from staff or students.
Community and education value: Visible arrays act as a public signal of responsible stewardship. That can strengthen community trust and support enrollment conversations. Systems also create hands-on learning with real-time production data for students and staff.
Market reality and decision notes
- Nearly 9,000 U.S. schools had on-site systems by 2023, covering almost 6 million students — proof that execution pathways and contractors are mature.
- Solar is not free power; success depends on right-sizing, incentives, and contract terms to deliver genuine savings.
Solar panel installation for schools: Fit, Feasibility, and Site Readiness
Start with a quick fit check to see if a campus should move forward.
Assess available roof or land area, shading, and structural capacity. Measure usable square footage and note trees, nearby buildings, and roof obstructions. Match that to annual campus electricity use to see if a system will meaningfully offset bills.
Rooftop vs ground-mount vs parking awnings
Rooftop keeps land free and often costs less to site. Ground-mount usually delivers more power per dollar but needs open land. Awnings add shade to lots and can support charging or educational displays, but they raise structure costs.
Orientation, shading, and electrical checks
South-facing roofs are best; southeast or southwest still perform well. Even small shade can cut output.
Installers will inspect meter location, transformer size, main distribution panel capacity, and any on-site generator ties. Zoning, codes, fire setbacks, and utility interconnection rules will affect timeline and design.
| Option | Typical cost | Output per acre | Campus impact |
|---|---|---|---|
| Rooftop | Moderate | Medium | Low land use |
| Ground-mount | Lower per kW | High | Uses open land |
| Parking awnings | Higher | Medium | Adds shade & canopy |
Understanding Solar Panel System Costs for Schools
Budgeting a campus energy project starts with knowing what drives the upfront and ongoing charges.
What typically drives the total cost
Materials and labor matter most. Schools pay for system size (kW), the equipment package (modules, inverters, racking, monitoring), engineering, permitting, and utility interconnection or upgrades.
How scale changes the math
Larger commercial-style projects often reach lower cost per watt and better ROI. Bulk procurement and fewer mobilizations cut soft and hard costs, which helps districts with high energy use.
Real-world ballparks and operating costs
Demo systems (1–5 kW) can run roughly $3,000–$30,000 and fit ~200 sq ft. Typical campus snapshots: 50 kW ≈ $147,500 before incentives; 100 kW ≈ $268,800 before incentives.
- Maintenance: minimal cleaning, scheduled inspections around years 1, 5, and 10.
- Expect inverter replacement during system life and modest insurance impacts.
- Treat O&M as part of total cost of ownership so ROI across 25–30 years stays realistic.
Financing Options That Work for Public, Private, and Nonprofit Schools
Deciding how to pay affects cash flow, risk, and long-term savings. Districts typically weigh three paths: buy with cash, buy with a loan, or use a third-party model such as a lease or a power purchase arrangement.
Direct ownership (cash or loan)
Owning the system usually yields the best lifetime savings because the district keeps reduced energy bills and any extra credits. Loans preserve cash while still delivering long-term value.
PPAs and leases
With a power purchase or lease, a third party owns and maintains the asset. The school buys power at an agreed rate, often with little-to-no upfront cost, and shifts maintenance off its plate.
Incentives, Direct Pay, and grants
Nonprofits can use Direct Pay to receive a federal payment often around 30% of project costs. Example: a 50 kW project at $147,500 becomes roughly $103,250 after a 30% Direct Pay.
State grants and utility incentives can stack. Some programs cover large shares of costs and improve payback dramatically.
Extra value streams and contract details
Net metering can credit excess generation back to utility bills; SRECs sell as credits per 1,000 kWh produced. Watch contract items that change outcomes: term length (often 10–25 years), escalators, buyout options, and end-of-term responsibilities.
- Tip: Run both ownership and PPA quotes side-by-side over 20 years to compare total cost and savings.
Building the Business Case and Getting Stakeholder Buy-In
Start by framing the project as a budget tool that replaces volatile utility spending with predictable monthly expenses. This makes it easier to show how a portion of campus energy can shift from uncertain bills to stable, planned costs.
Budget impact: Create a simple comparison that shows recent utility trend lines versus a projected fixed-cost scenario. Include estimated annual savings and an expected payback range (many districts recoup costs in about 5–10 years).
Who signs off and how
Map decision pathways early. Typical approvers include facilities/operations, finance leaders, an Office of Sustainability, and the school board. Each group wants different data: technical teams want layout and equipment details; finance looks at cash flow and risk.
What to request in a quote
- Itemized cost breakdown (equipment, labor, permits, upgrades).
- Cash-flow projections over the system lifespan with assumptions noted (degradation, utility rates).
- Production estimates in kWh and a preliminary layout or schematic.
- Scenario comparisons (ownership vs PPA/lease) showing net savings and responsibilities.
“Ask vendors to show a 20-year cash-flow model and clear buyout or end-of-term options.”
Tip: Align the project with broader goals—sustainability targets, facility plans, and education resources like live dashboards that support classroom learning. A clear, numbers-driven packet helps committees move decisions forward with confidence.
Choosing the Right Solar Installer and Equipment Package
Smart procurement narrows risk: better designs, clearer warranties, and stronger price competition. Start by collecting at least three bids so you can compare price, scope, and expected production.
Why multiple bids matter
Competitive quotes lower costs. DOE and NREL guidance encourage comparing offers because large firms sometimes price higher by $2,000–$5,000 than local firms. Different vendors also propose varied layouts that may fit complex campuses better.
What qualifies an installer for K-12 projects
- Safety plans, background checks, and experience around academic calendars.
- References from educational institutions and documented school projects.
- Clear scheduling to avoid class disruption and strict site safety zones.
Equipment tradeoffs and warranty checklist
Balance efficiency and cost when choosing panels and inverters. Racking type and monitoring tools affect production and maintenance needs.
“Ask vendors to standardize system size, monitoring, and warranty terms so bids are apples-to-apples.”
- Warranty checklist: panel performance (80–90% at 25–30 years), product defects, inverter warranty (10–20 years), workmanship, and any performance guarantees in writing.
- Verify how installers handled outages and long-term O&M on past projects.
What the Installation Process Looks Like on a School Campus
Practical sequencing and utility coordination keep projects on schedule and limit disruption.
Step-by-step: Expect assessment, preliminary design, engineering, permitting, procurement, construction, interconnection, commissioning, and monitoring. Each step has clear deliverables and a school point‑of‑contact who handles daily questions.
Typical timelines run from about six months to a year or more. Permits and utility reviews often take 1–3 months. Design and procurement add 1–2 months. Construction usually lasts 1–3 months with commissioning and testing in 1–2 weeks.
Utility coordination includes an interconnection application, possible service upgrades, and a brief planned power outage at tie‑in. Net metering enrollment depends on state and utility rules and is handled during commissioning.
Minimizing disruption: Schedule major work during summer or breaks, set fenced safety zones, coordinate deliveries, and post clear signage. A single campus liaison keeps staff and students informed.
After energization, set up monitoring dashboards to track production and power savings. These tools alert teams to underperformance and double as a classroom resource to support student learning today.
Guide to installing solar panels on
Conclusion
Conclusion
A clear roadmap helps districts move from idea to impact.
Start with a site assessment, compare transparent costs and financing, and pick a vetted installer with strong warranties. That sequence delivers the best chance at long-term savings and reliable performance.
Remember total costs include interconnection, warranties, and ongoing O&M — not just the sticker price. Choosing ownership or a third‑party approach should match your board’s governance and risk appetite.
Take a practical next step: schedule a site review, gather multiple bids, and request production and cash‑flow estimates so leaders can approve with confidence. With nearly 9,000 U.S. schools already using solar energy today, districts that act now join a proven path toward budget and sustainability benefits.